Getting Started
Introduction
This tutorial aims to get started with the MANTIS frontend.
During this tutorial, you will perform the following steps:
- Connection to the web interface,
- Running an attack,
- Running a scenario,
- Viewing a dataset.
Logging in to the web interface
Enter the M&NTIS Platform URL into a web browser: https://app.mantis-platform.io.
You should then see the following dialog box:
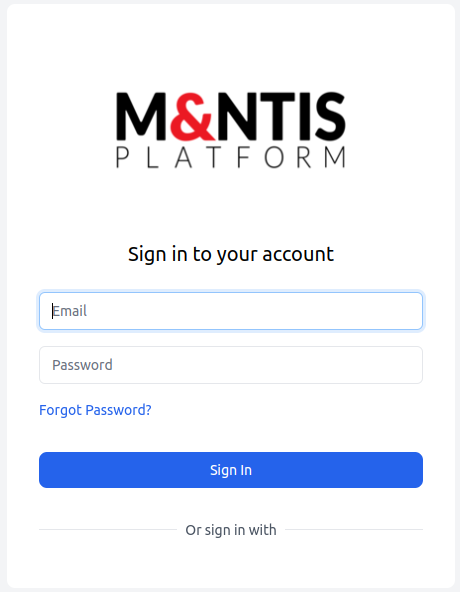
Then enter your login credentials and press the Sign in button.
The following page appears, you are connected to the application.
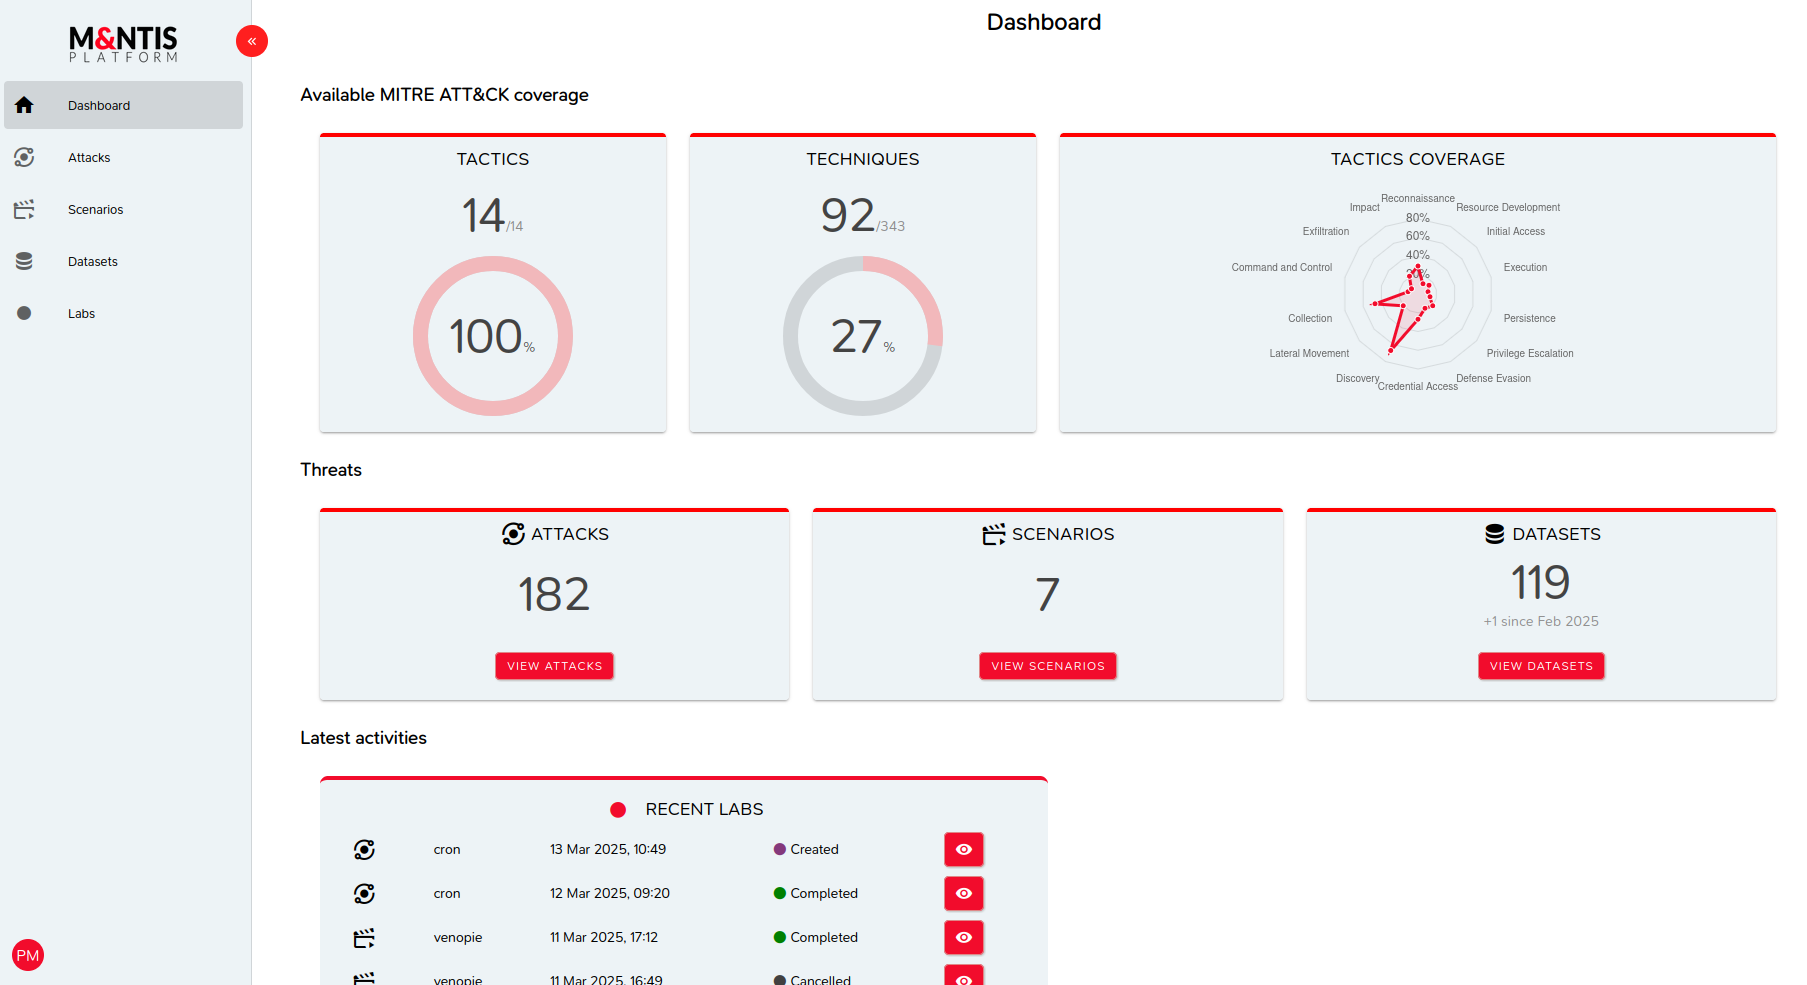
This page displays statistics in the form of a dashboard.
The left menu allows access to the different functionalities available.
For more details see this page or continue to the next step.
Running an attack
Click Attacks in the left menu.
The following page is displayed:
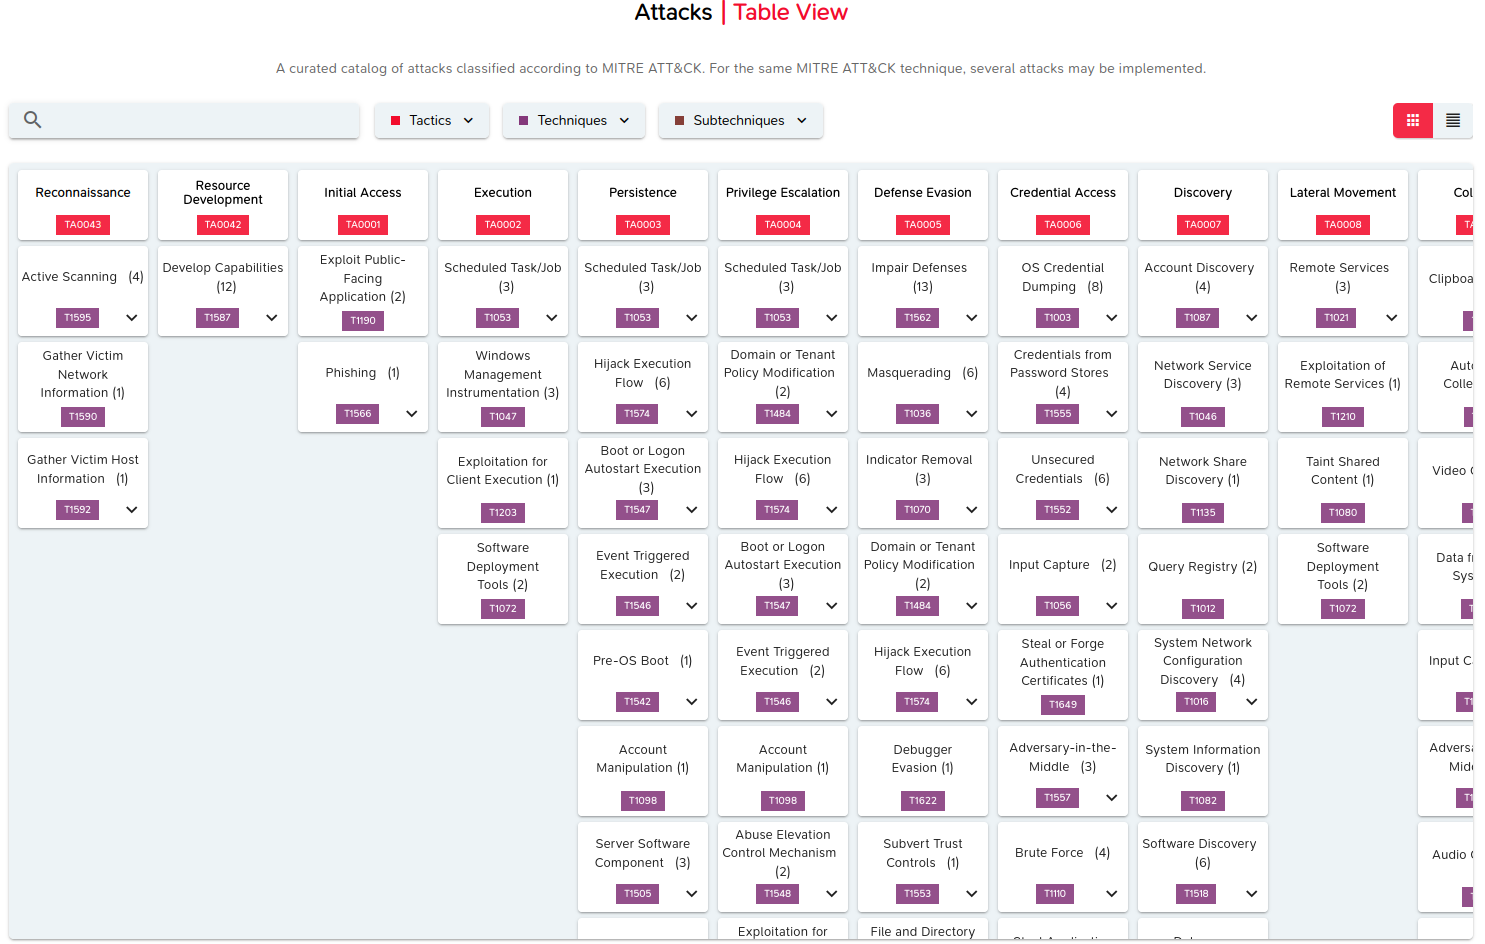
This page represents the attacks implemented within the M&NTIS Plaftorm application, according to the MITRE ATT&CK matrix. The attacks are therefore sorted by tactic, technique and sub-technique, within the meaning of MITRE ATT&CK.
For example, the Persistence tactic (TA0003 identifier) contains the Hijack Execution Flow technique (T1574).
Choice of attack
Locate the box in the matrix corresponding to the tactic and technique mentioned above and click on the down arrow to view the sub-techniques:
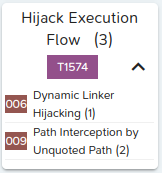
We then obtain the following information:
- One attack implements the Dynamic Linker Hijacking subtechnique (
006), - Two attacks implement the subtechnique Path Interception by Unquoted Path subtechnique (
009), - i.e. a total of three attacks implementing the Hijack Execution Flow technique.
Now, click in the center of the box to reveal the details of the technique and its sub-techniques:
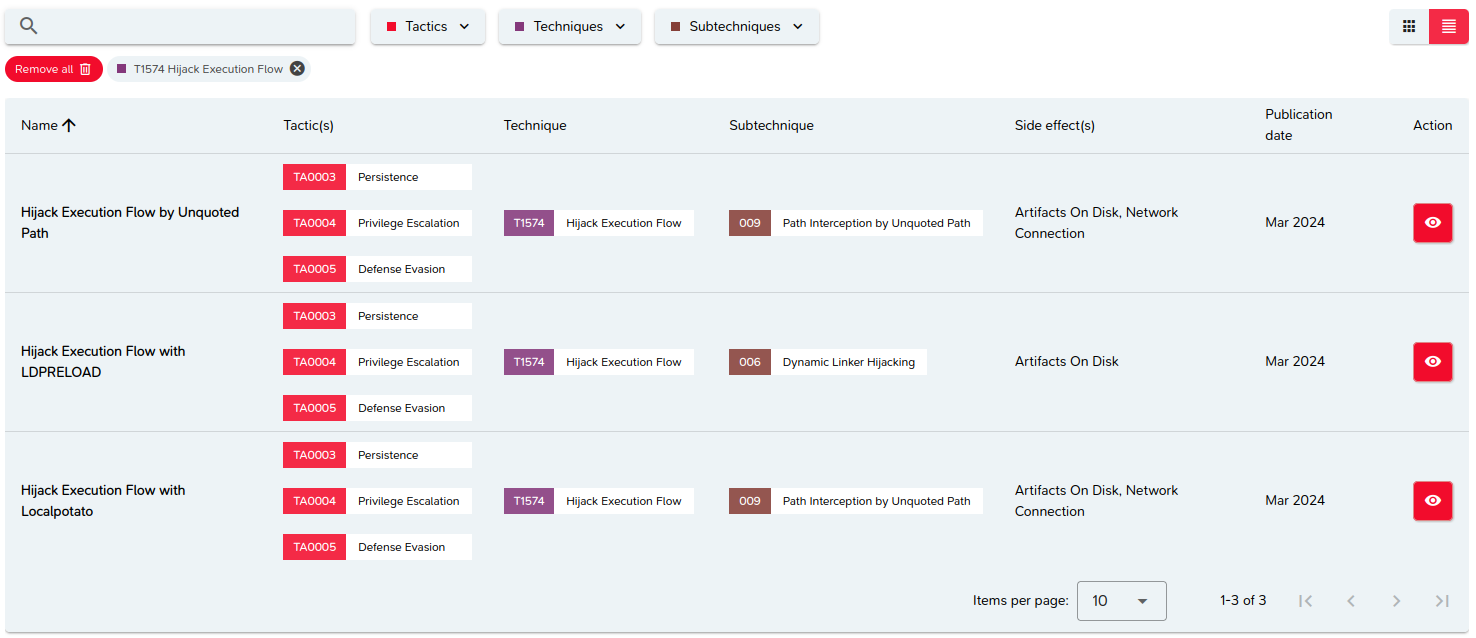
We find the three attacks represented in the form of a list and sorted by their name.
Locate the first line and click on the eye-shaped button to view the details of the attack.

Lots of information is presented, including the topology on which the attack will be executed.
For more details see this page or continue to the next step.
Run configuration
Click the CONFIGURE LAB RUN button.
The following page appears:
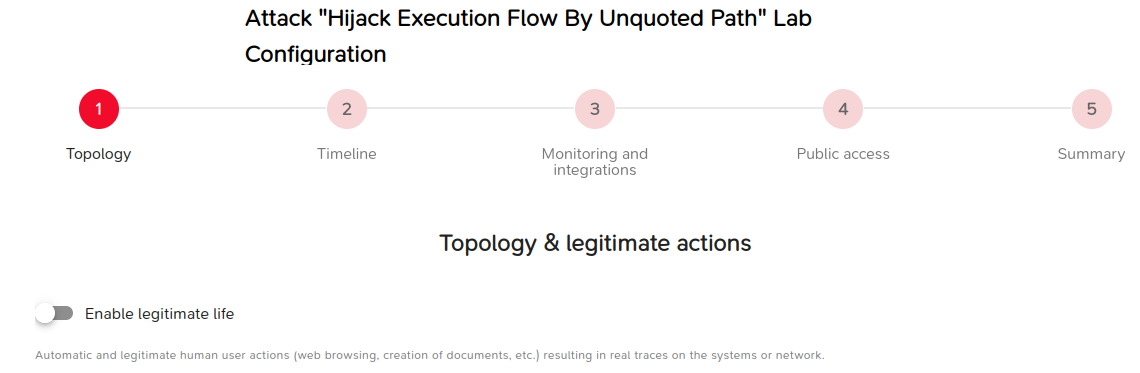
The lab configuration includes many steps detailed here.
For now we will use the default values and click directly on the last Summary button. We thus obtain a summary of the chosen parameters (in our case the default parameters).
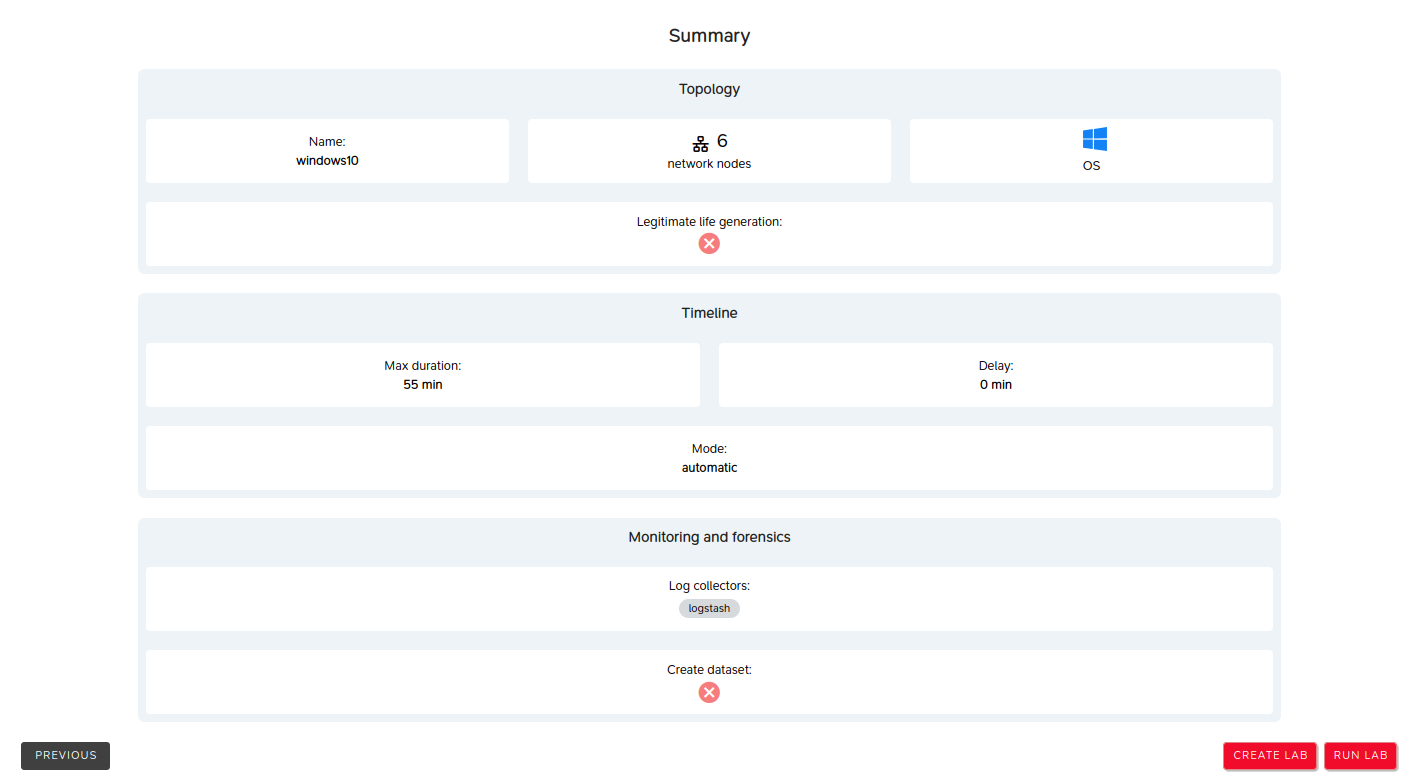
Now you can click the following buttons in order to:
- PREVIOUS: modify the previously chosen parameters,
- CREATE LAB: create the lab for deferred execution,
- RUN LAB: run the lab immediately.
Execution of the attack
Click the RUN LAB button to start execution. The following page is displayed, representing the details of the execution.
By clicking "LABS" on the left menu, you can view all the running labs, including the one you have just launched.
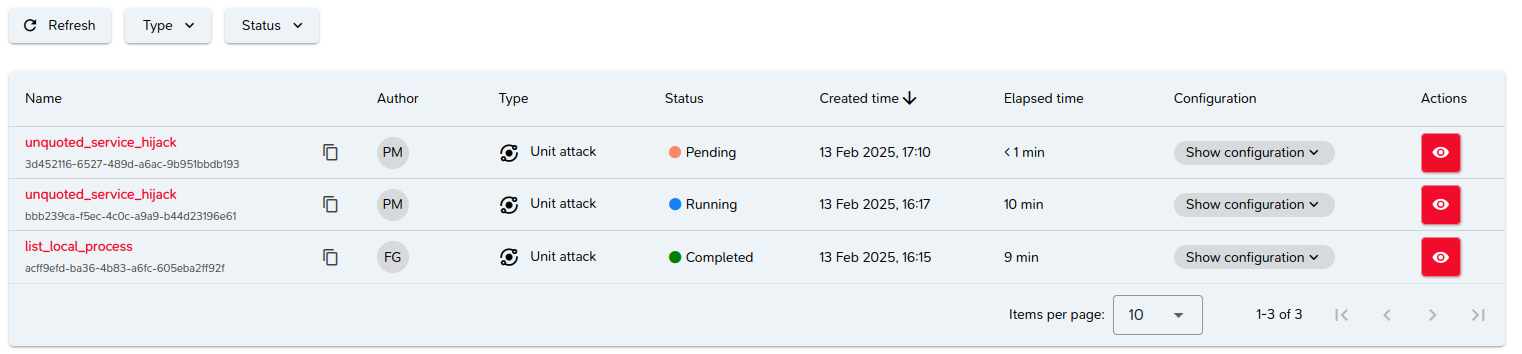
Note that labs associated with the same attack can be differentiated by their ID: bbb239ca-f5ec-4c0c-a9a9-b44d23196e61 in the example.
Return to the detailed view by clicking on the name of the attack (at the beginning of the line) or on the eye (at the end of the line).
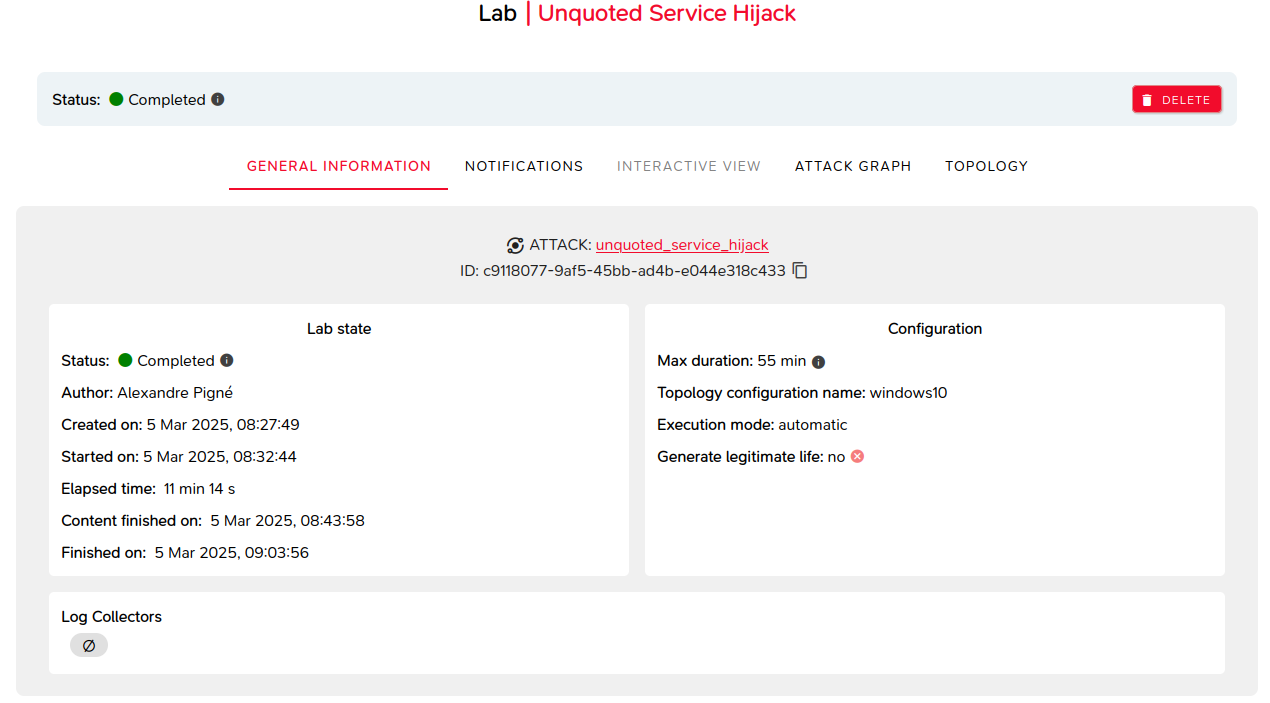
End of attack
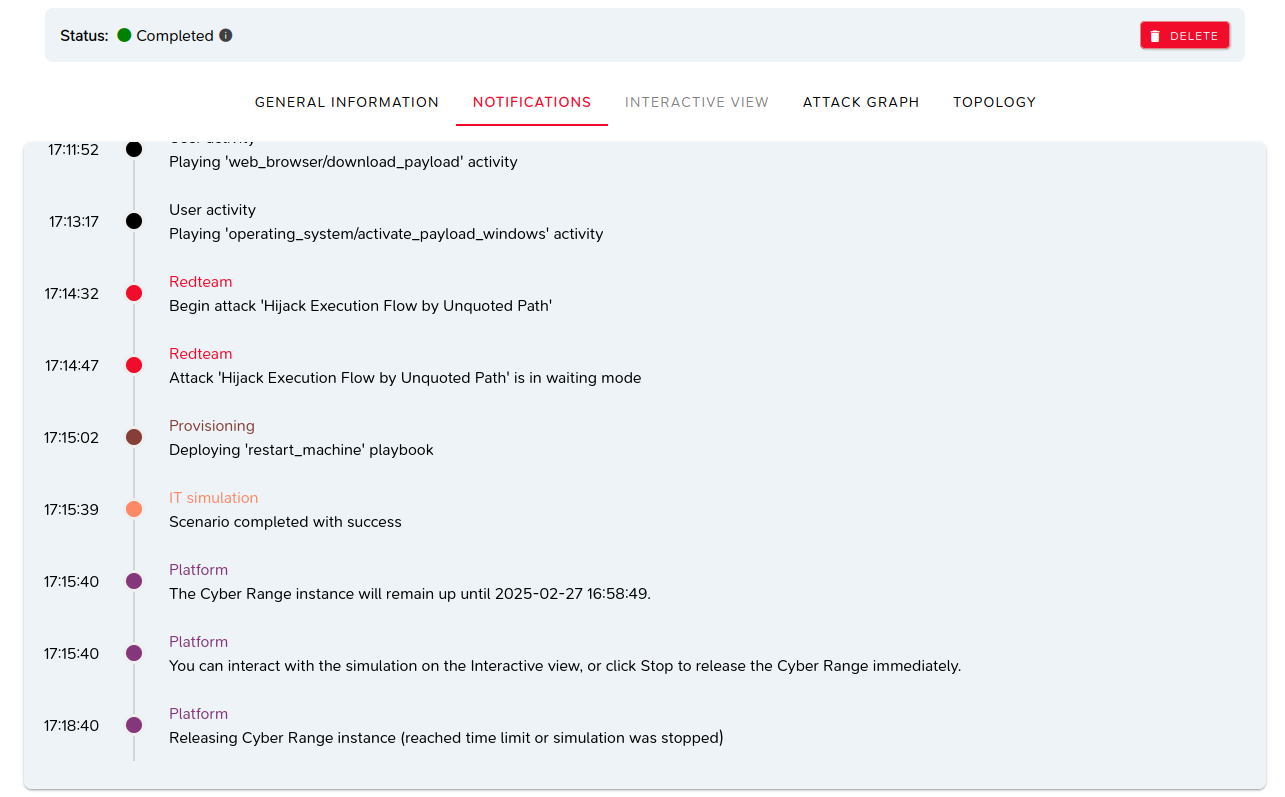
When the attack is completed, its status is "FINISHED", the status of the lab is still "RUNNING":

As indicated in the notifications, you have a limited time to interact with the lab or you can stop the lab immediately (STOP button).
If no action is performed, the lab will automatically stop at the end of the allowed time.
In our case, we will immediately stop the lab by pressing the STOP button. The status of the lab is then "COMPLETED".
For more details see this page or continue to the next step.
Running a scenario
The operations we are going to perform are similar to those of an attack.
However, as a scenario is made up of several attacks, its execution will take longer than for one attack.
Click on Scenarios in the left menu.
The following page is displayed:
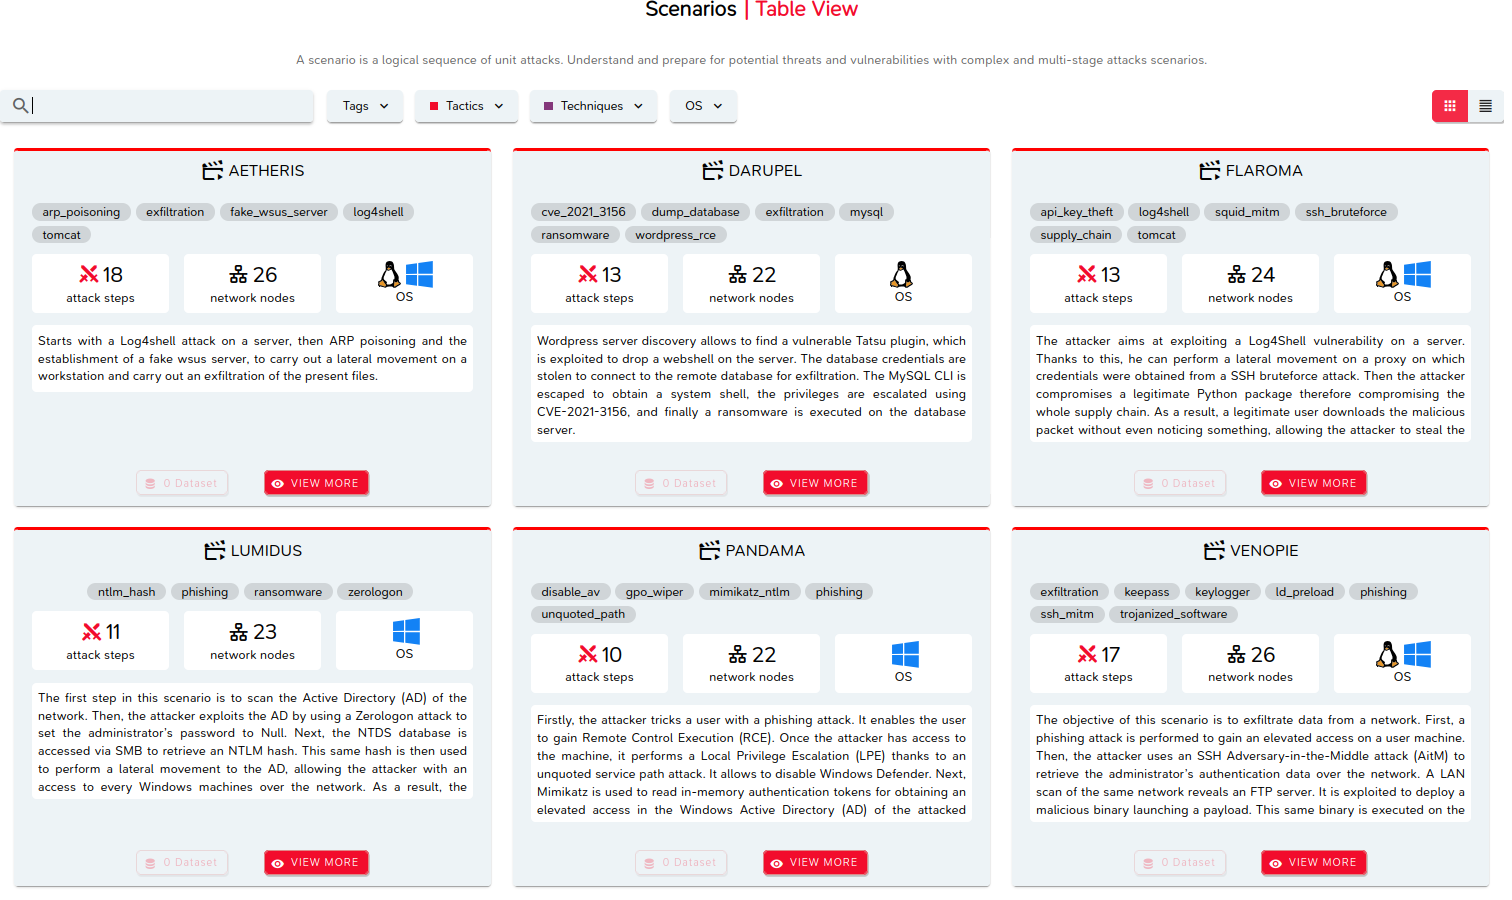
This page represents the scenarios implemented within M&NTIS Platform.
Choice of scenario
Choose a scenario, AETHERIS for example, and click "VIEW MORE" in the corresponding box. The details of the scenario is then displayed.

In the same way as for the attack, click on "CONFIGURE LAB RUN" button, then on "Summary" label, and finally on "RUN LAB" button.
The lab starts, then the execution of the scenario itself. While it is running, you can navigate through the different tabs in order to see the scenario evolution.
When the scenario is finished, stop the lab.
For more details see this page or go to the next step.
Viewing a dataset
Click Datasets in the left menu.
The following page is displayed:
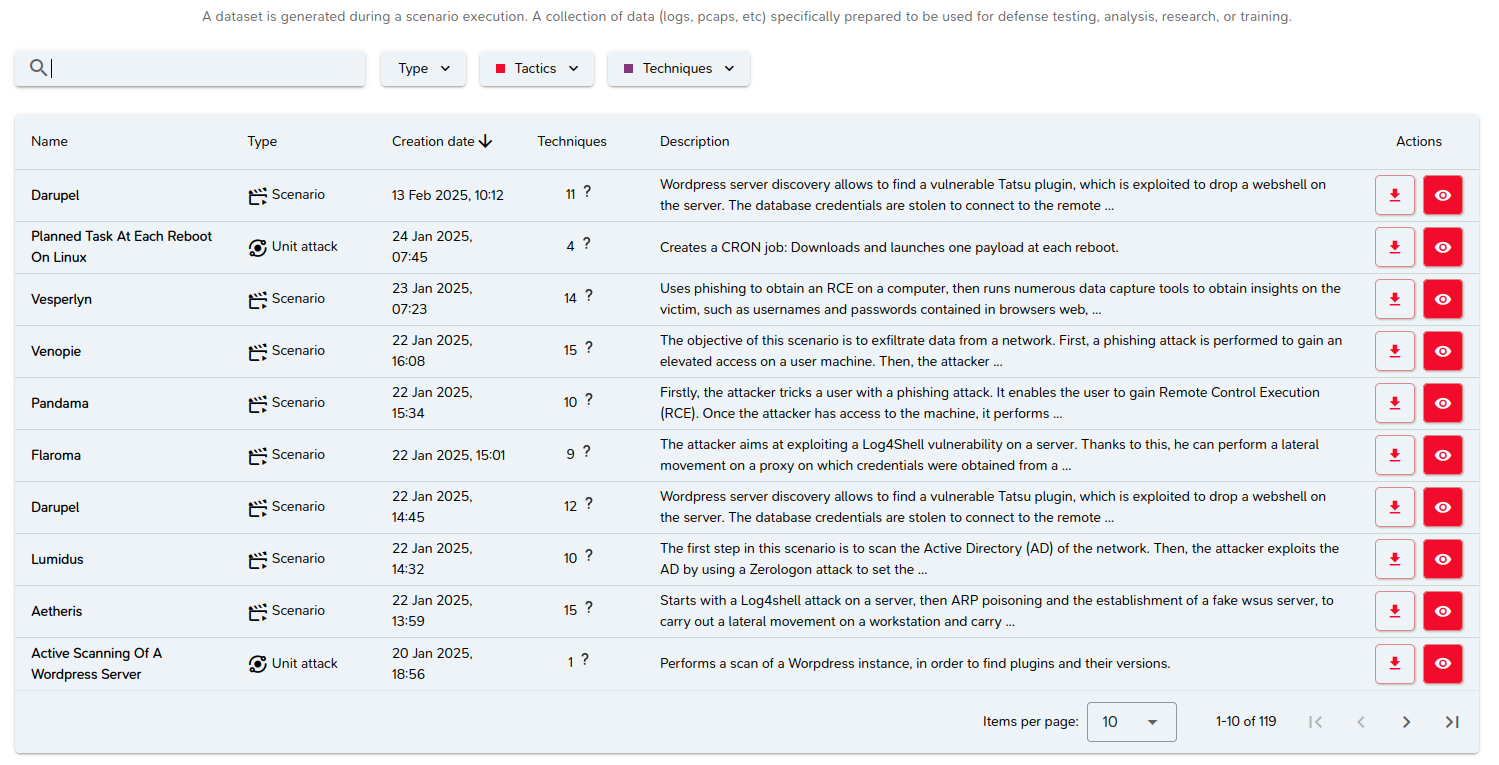
A dataset is a set of data created during the execution of an attack or scenario.
Choice of dataset
Locate the dataset of your choice (preferably a dataset resulting from an attack) and click on the button:

in order to visualize it.
The details of the dataset are then displayed.

Navigate through the different tabs to view its content.
You can also download the dataset by clicking on this button:

For more details see this page or skip to the last step.
Logout
You have had an overview of the M&NTIS Platform functionalities, now it is time to log out.
Click on the icon (uppercase initials of the user's first and last name) at the bottom left of the main menu:

Then click on “Log out” in the pop-up displayed.
Finally, respond “Confirm” to the logout confirmation request.
For more details, see this page.