

Preparing the Nebulyx scenario
Introduction
Test tenant only
This scenario must imperatively be run on a test Microsoft 365 / Azure AD tenant, never on a production tenant. It involves creating accounts with elevated administration rights (Global Admin, Contributor/Owner) and an Azure AD application deliberately granted excessive permissions, in order to simulate its abuse.
This document describes the prerequisites required to prepare and run the Nebulyx attack scenario on the M&NTIS platform.
Nebulyx simulates the abuse of an Azure AD application with excessive permissions. To replay this scenario in your own tenant, several environment elements, accounts and pieces of information must be prepared and sent to us before the scenario is scheduled.
Environmental prerequisites
- Test Microsoft 365 / Azure AD tenant
- Azure subscription
- Dedicated Resource Group
- At least one active Exchange Online mailbox
- Presence of test emails in the Exchange mailbox is recommended
Required accounts
Tenant administration account
This account will be used to administer the environment and configure the Azure elements required for the scenario.
- Sufficient administration rights on the environment (Global Admin or at least Hybrid Admin), to administer the hybrid environment / Azure AD.
- Multi-factor authentication (MFA) of TOTP type enabled (see the MFA configuration procedure below).
The login, password and TOTP Secret Key of this account correspond to the admin_email, admin_password and secret fields of the scenario.
Scenario cloud administrator account
Please create an account dedicated to the scenario, for example: cloudadmin@yourdomain.onmicrosoft.com.
This account must:
- be present in the test tenant,
- have the Contributor role (with Assignment type Active) or Owner on the Resource Group or subscription mentioned in the environmental prerequisites.
The login and password of this account correspond to the cloud_admin_mail and cloud_admin_password fields of the scenario.
👤 Creating the account
Step 1 — Open https://entra.microsoft.com/.
Step 2 — Go to the Entra ID section, then User.
Step 3 — Click New User, then Create new user.
Step 4 — Enter the desired name for the account.
🔑 Assigning the Contributor role
Step 1 — Open https://portal.azure.com/ and select the desired subscription.
Step 2 — Go to Access control (IAM), then click Add role assignment.
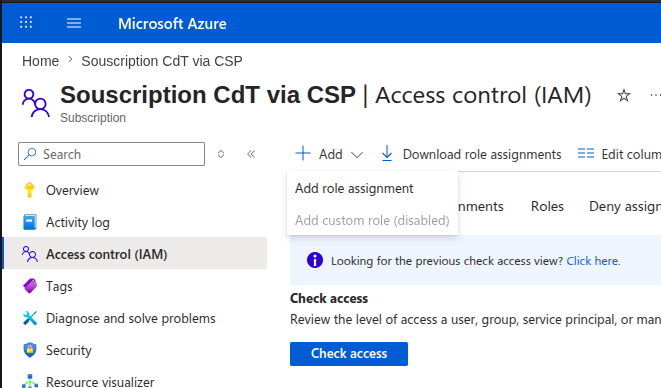
Step 3 — On the Add role assignment page, in the Role tab, go to the Privileged administrator roles sub-tab and select Contributor.
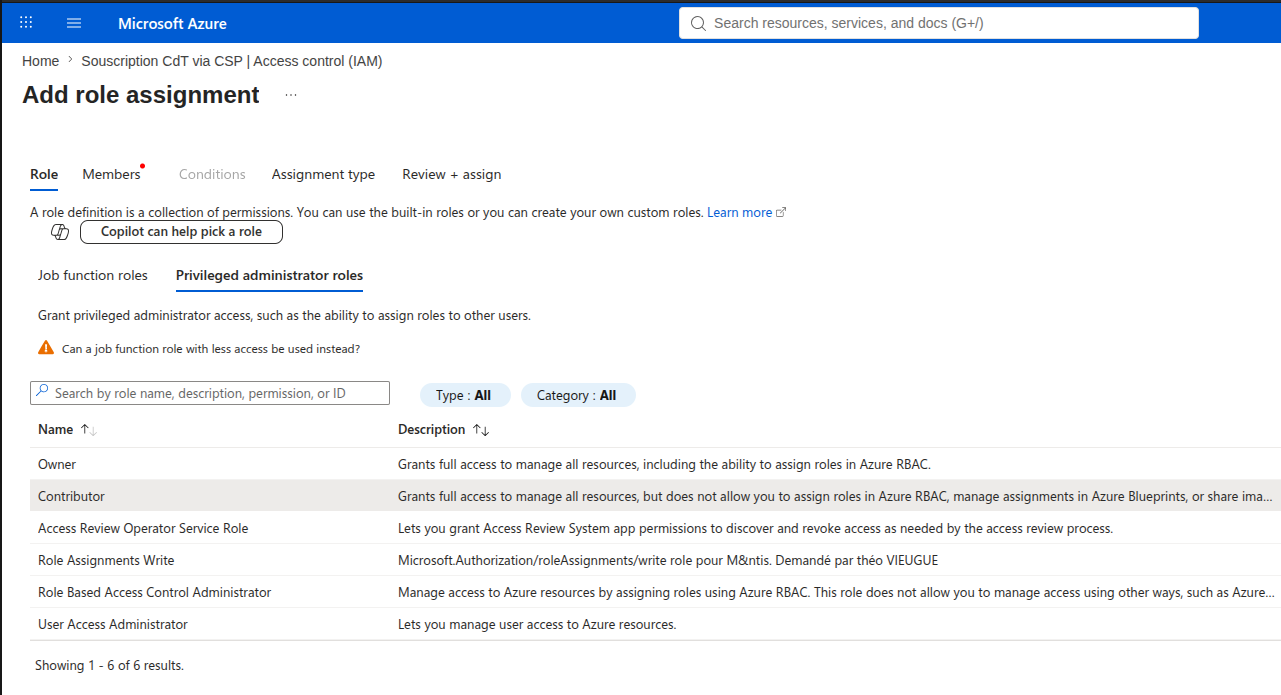
Step 4 — Go to the Members tab, click Select members, then choose the newly created user.
Step 5 — Go to the Assignment type tab and select Active.
Step 6 — Click Review + assign to finish.
Azure AD application
Create a test Azure AD application (example: CloudSyncApp) with the following Application permissions:
Directory.Read.AllMail.Read
These permissions will be used in the scenario to simulate the abuse of an Azure AD application with excessive permissions.
Information to provide for this application, corresponding respectively to the tenantId, clientId and clientSecret fields of the scenario:
- Tenant ID
- Application (Client) ID
- Client Secret
🧩 Creating the application
Step 1 — Open https://entra.microsoft.com/.
Step 2 — Go to Identity → Applications → App registrations, then click New registration.
Step 3 — Fill in:
- Name: any name of your choice (for example
CloudSyncApp) - Supported account types: leave the default value, as long as it stays limited to your tenant (single-tenant)
- Redirect URI: leave empty (app-only usage via script)
Click Register.
Step 4 — In Overview, retrieve and note down:
- Application (client) ID
- Directory (tenant) ID
Step 5 — Go to Certificates & secrets → Client secrets → New client secret:
- Description: any description of your choice (for example
Automation) - Expiration: depending on the lab's needs
Click Add, then immediately copy the Value column.
Warning
This is not the Secret ID but the Value column that needs to be copied, which will be used as the Client Secret — it will no longer be displayed once you leave the page.
Step 6 — Go to API permissions → Add a permission → Microsoft Graph → Application permissions, then add:
Directory.Read.AllMail.Read
Optional — to simulate a more dangerous provisioning script, Directory.ReadWrite.All can also be added.
Step 7 — Click Grant admin consent for [tenant] and check that the status shows Granted.
Information to provide
Before the scenario is run, the following fields must be sent to us in full — these are the exact field names used by the scenario:
| Field | Associated account | Description |
|---|---|---|
admin_email | Tenant administration account | Account login |
admin_password | Tenant administration account | Account password |
secret | Tenant administration account | Account TOTP Secret Key |
cloud_admin_mail | Scenario cloud administrator account | Account login |
cloud_admin_password | Scenario cloud administrator account | Account password |
tenantId | Azure AD application | Tenant ID |
clientId | Azure AD application | Application (Client) ID |
clientSecret | Azure AD application | Client Secret |
TOTP MFA configuration
This procedure enables TOTP-type MFA on the tenant administration account, required in the prerequisites above.
Step 1 — Open https://admin.cloud.microsoft/.
Step 2 — Sign in with the tenant's hybrid/global administration account.
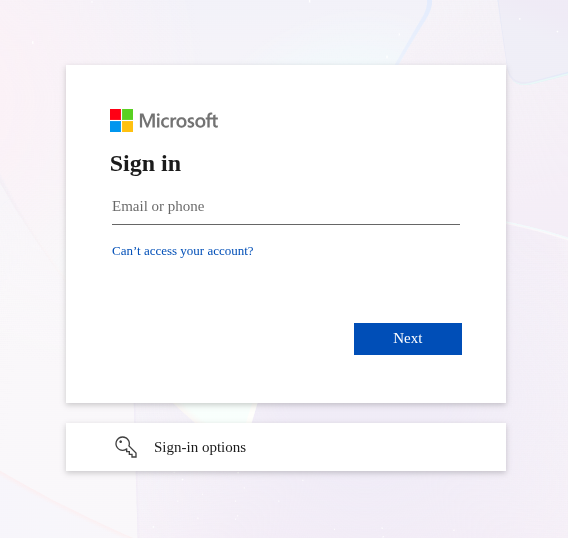
Step 3 — Click Next to start the configuration.
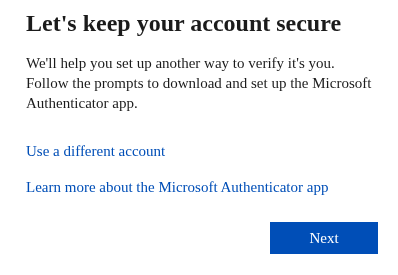
Step 4 — Choose Set up a different authentication app.
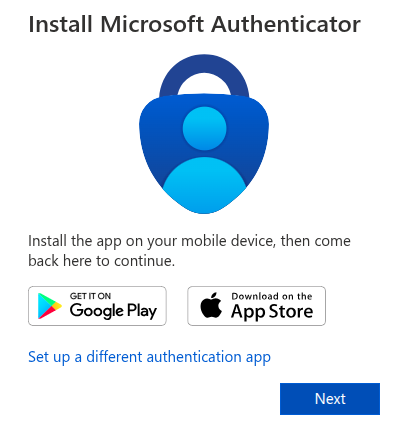
Step 5 — Continue the wizard.
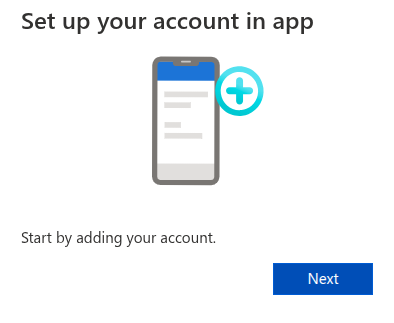
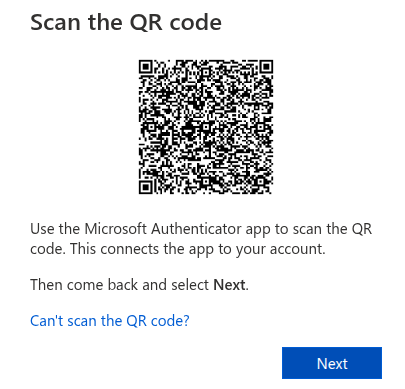
Step 6 — Scan the QR Code to add the MFA to your authenticator app.
Warning
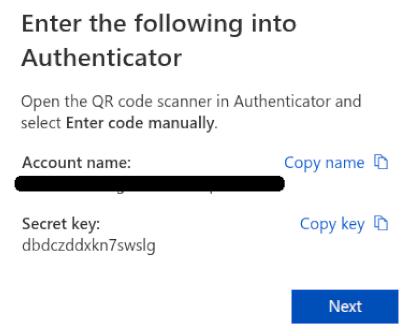
Once the QR code has been scanned, do not click Next but Can't scan the QR code?.
Step 7 — Copy and keep the Secret Key shown.
Warning
This Secret Key will need to be included in the information to provide before the scenario is run.
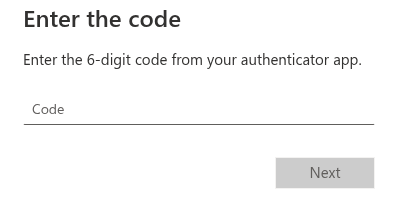
Step 8 — Enter the TOTP code generated by the freshly configured authenticator app, then validate.
Step 9 — Finish the wizard.
Replaying the scenario
🔄 Mandatory cleanup before a new run
To replay the scenario on the same tenant, the following elements must first be deleted. Without this cleanup, artifacts from the previous run remain and cause the scenario to fail.
- Synced devices — In Entra ID, go to Devices, and delete the machines that were registered during the Azure AD synchronization performed while the scenario was previously run.
- Scenario cloud administrator account — Delete the
cloudadmin@...account created during the previous run, even if you plan to recreate it identically.